


Adobe Premiere Pro is a video editing product included in the Adobe Creative Cloud software suite. Adobe Premiere Pro is used to edit films, including movies, and is increasingly becoming the go-to application for amateur and professional filmmakers all over the world.
Start a New Project in Adobe Premier Pro
Simply click the Pr Logo to launch the software. When the window is open, click on the New Project; this will bring up a window asking you about your options. Give the project a name (do not just leave it as Untitled since this might lead to future misunderstanding) and a location.
This is the location in your file system where your video project will be kept, for example, My Videos.
It is good to correctly name your files and organize them neatly inside your file system. It will benefit you in the future because you never know when you’ll need to view a certain piece of film again!
Edit your Videos in Adobe Premiere Pro
Adobe Premiere Pro is a popular video editing tool that is compatible with both Windows and Mac computers. It is similar to Apple’s Final Cut Pro video editing software, but it has become the preferred application for many video makers. Follow these tips to edit your videos using Adobe premiere pro.
1. Make sure your video clips are ready for editing
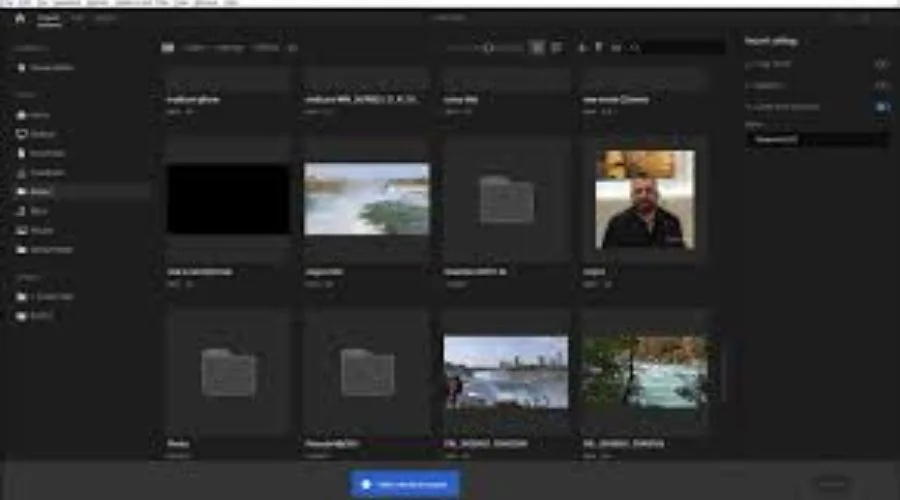
Whether you save your video clips on your computer’s hard drive or an external hard drive, the first step is to find all of your .MP4 or .MOV video files and import them into your video editing program. This is as simple as picking, dragging, and dropping the files from their original position.
2. Recognize Your Video File Formats

When you shoot your films in C-LOG, you’ll get a flat image profile that’s ideal for color grading in post-production. In some ways, C-LOG video material is similar. RAW images, in the sense that they provide you with more creative power throughout the editing process. If you want to spend less time editing your film, you should shoot it in a different Picture Style, such as Landscape, Portrait, or Monochrome, as they require less post-production correction.
Shoot your films in 4K for better resolution and the ability to crop in on certain areas of your video clips. This implies that the horizontal resolution of your video will be around 4,000 megapixels wide, giving you more creative freedom.
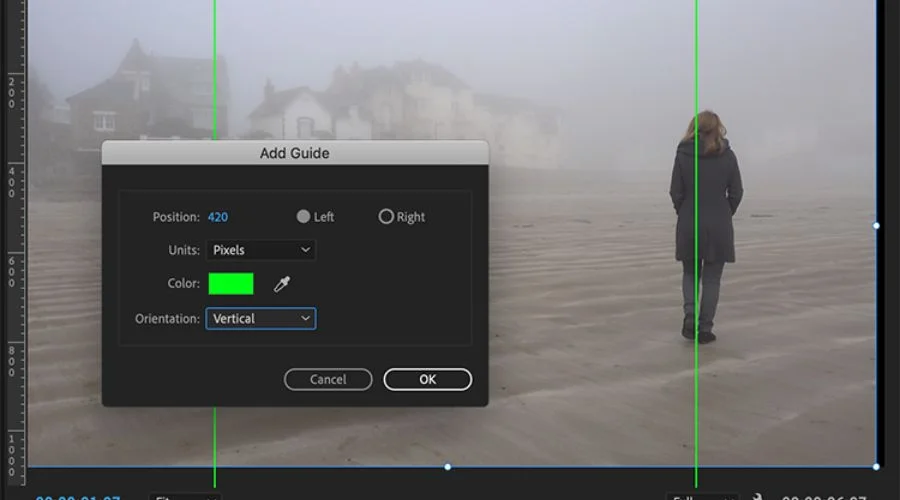
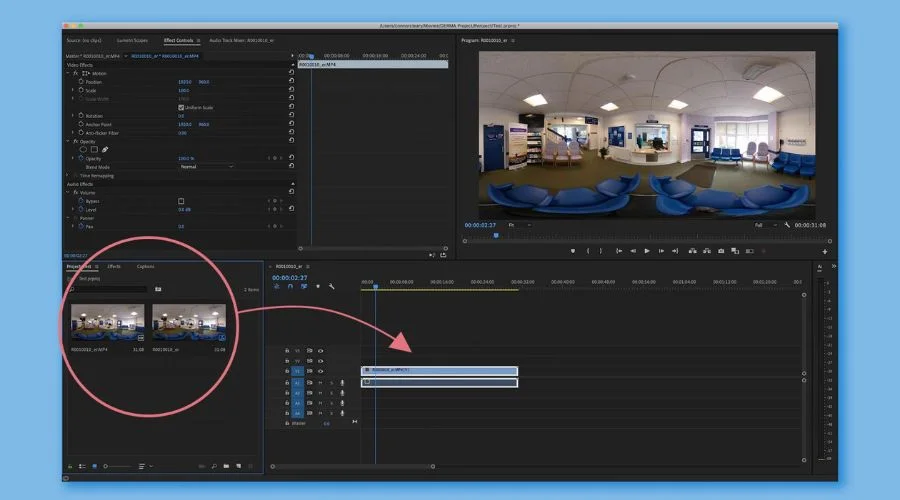
3. Trim and Sequence Your Video Clips
Once your video clips have been imported, you can begin dragging and dropping them onto your timeline in the sequence you wish them to play. You may use the ‘Cut’ tool to shorten each clip, whether from the beginning or the conclusion, to ensure that you save the parts you want and discard the parts you don’t want.
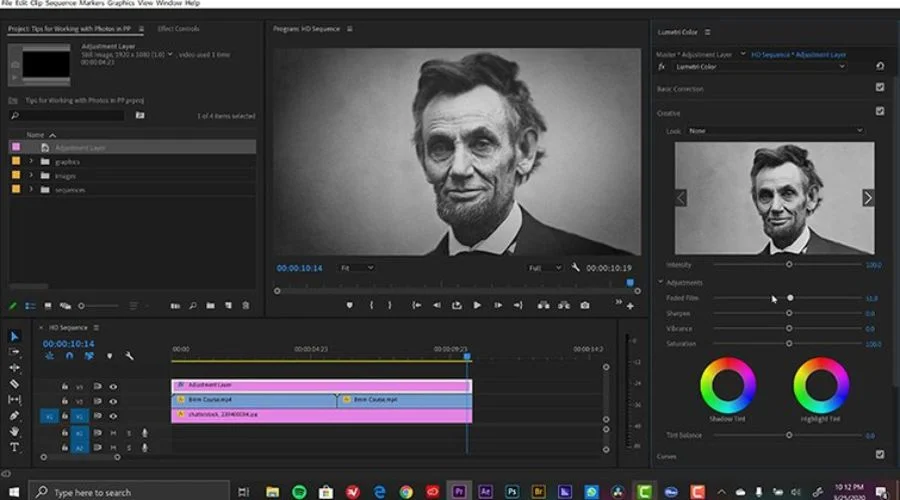
4. Make Your Video Clips Look and Feel Better
When you initially use your video files, they may appear flat, especially if they were filmed in C-LOG. This is where you may configure your effects and basic correction settings. You can bring your video to life and obtain the appearance and feel you want to tell your narrative by modifying simple parameters like exposure, white balance, temperature, saturation, and contrast.
5. Copy & Paste Your Video Preferences
After you’ve color-corrected your first video clip, you may copy and paste the identical settings to your subsequent clips.
This will assist to speed up the editing process and provide a more consistent look across your finished film.
6. Make Your Video Flow with Dynamic Transitions
Transitions transform the appearance and feel of your whole video by adding a style to the way each clip flows into the next.
Whether you use a cross dissolve transition, in which one clip dissolves into the next, or a ‘wipe’ transition, in which the following clip is gradually revealed, the aim is to improve the overall flow of your video.
7. Export Your Video in High Quality
You may begin prepping it for export after you’re satisfied with the sequencing and color correction. You can do this by selecting ‘File,’ ‘Export,’ and then ‘Media.’ A menu will appear, presenting you with various export quality options. In general, you should export your movie in either 1080p HD (high definition) or 4K resolution.
Conclusion
That’s all there is to it! You’ve mastered the fundamentals of editing a film with accompanying audio in Premiere Pro. For more information visit the official website of Feedhour. You can download the Adobe premiere pro apk or can check the Adobe premiere pro prices from the official website of Adobe.


